Grill Brush Safety
Don't Let this Happen to You!
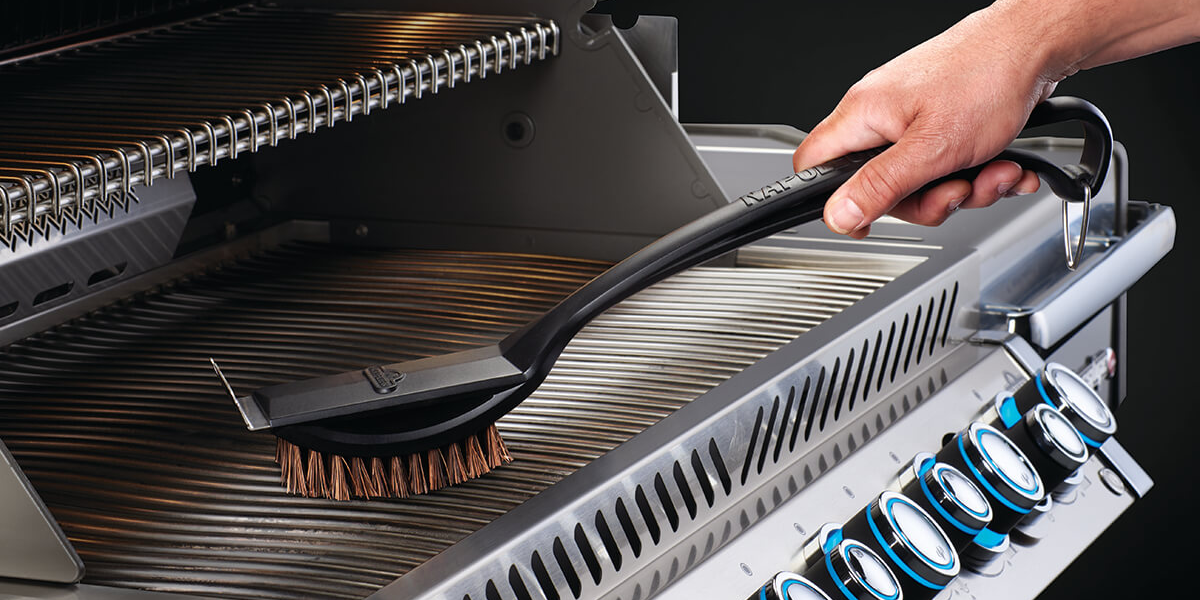
A grill brush is a must have a practical tool used to clean your barbecue before and after every use. A grill brush sees the most wear of any barbecue accessory due to the buildup of grease and grime on the grids, to the heat and the elements if left outside. Add in the back and forth roughness of scraping your grill and you get a worn down brush with bristles that can crack, warp, and shed all over your BBQ.
Point blank, if your grill brush is in bad condition, then it naturally won’t serve its purpose. Broken bristles can dislodge and stick to the grids, often going unnoticed; this can catch on any food and is a hazard. In today’s post we will discuss the tests and safety measures to take when using a BBQ brush; because it’s always great to be prepared!
Test The Condition
Here are three simple and effective ways to test out your brush:
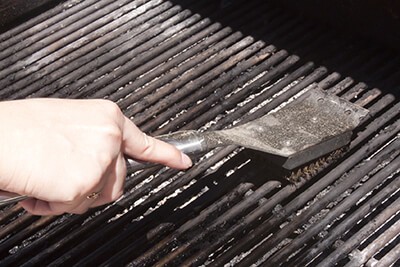
Do a once over: If at first glance you see that your brush head bristles are worn down, caked with grease or clogged with buildup, it’s time to throw it out and replace it – you don’t want that anywhere near your food!
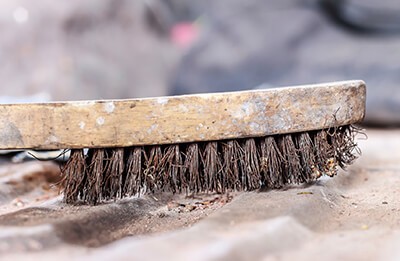
Bristles: Look to see if there is any visible decay, splitting or rust in the bristles. If yes, it is also time to replace. Brass grill brushes will eventually rust over time, Stainless steel will not. Rust weakens bristles, thus losing its effectiveness.
A simple test tip: grab a pair of tweezers or a small pair of pliers. Using moderate and gentle pressure, tug on a few bristles. A good brush should keep the bristles in place and last for much longer.
Buying A New Grill Brush
Material: Remember that stainless steel brushes work best on stainless steel grids. Brass brush heads are softer and are good for cleaning stainless and cast-iron; it won’t cause damage to the grid coating or wear the cast iron down. Choosing the right material for cleaning your grill is the first step in ensuring safety for yourself and your food.
Selection: Pick a brush that feels durable and strong. Make sure the bristles feel anchored to the head and aren’t too long or too thin.
Back-up: Buy a grill pad to go with your brush, switch it up a bit! An abrasive pad is great for buffing away tough buildup and stains on your grates. Try alternating between the two.
*Tip: If you want to go even further, make sure you season your grids before grilling. Running a rolled up paper towel with oil over your grids is a good way to make sure it’s clean and ready to go; you can do a close inspection to see if the grids are clear of debris. Use canola, vegetable, or peanut oil for best results.
How to clean your brush
Now, the reality is that bristles can fall out if worn. When not cleaned and taken care of properly there is the possibility of an ingestion injury.
Here’s how you can clean your brush:
-
Fill a bucket, sink or pail (large enough to lay the brush face down) with warm water about 2-3 inches.
-
Add a dime-sized amount of mild soap (with grease fighting properties) to the water; If you want, add a little bit of olive oil to the water. This will assist in keeping the bristles supple and not dried out, stiff or cracked.
-
Placing the brush face down, let soak for 2 minutes. Buildup should pull and slide off *you can use a nail brush to gently help loosen any stubborn debris.
-
Place facedown to dry or hang so moisture does not get trapped inside the head.
If washed improperly, it can decay and shed the bristles faster and more frequently. Maintain your grill brush at least once or twice a month, depending on how often you use the grill.
Remember to take care of your tools, storing your grill brush (along with your other grill accessories) in a dry space away from rain, extreme heat or snow.


